The Title Box
The Title Box is an essential item on your plan - it captures a lot of important information about you and your works in one convenient location.

The Title Box has provisions for the following information:
- Date
- Author
- Project
- Custom details
- North marker
- Company logo
- Comments field
Creating a Title Box
Creating a title box is a simple matter of selecting, filling and placing on the canvas.
To place a Title Box:
- Select the Title Box from the Annotations tab in the Properties Palette and place the box on the plan.
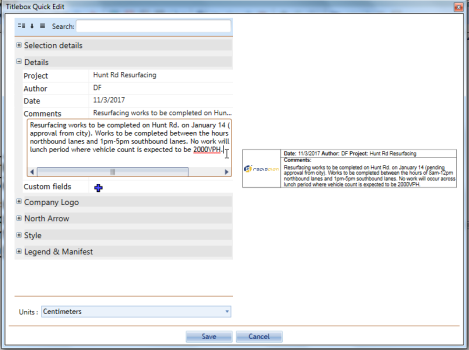
- Double click on the Title Box to open Quick Edit.
- Fill in each of the required fields and click Save.
Note: As always in RapidPlan, this editing can be done from the Properites Palette.
Manipulating the title box
The title box can be moved, rotated, resized, cut copied and pasted just like any other item on the canvas. Simply select it and make any changes as required.
Filling in the Title Box Fields
Entering data into the title box is very easy, but because a number of fields are quite unique in nature, we will cover them one by one.
Date, Author, Project, and Comments Field
These are all simple text entry fields. Note that the Date field doesn't have an input mask, so you can enter your date which ever way you like.
Custom Details
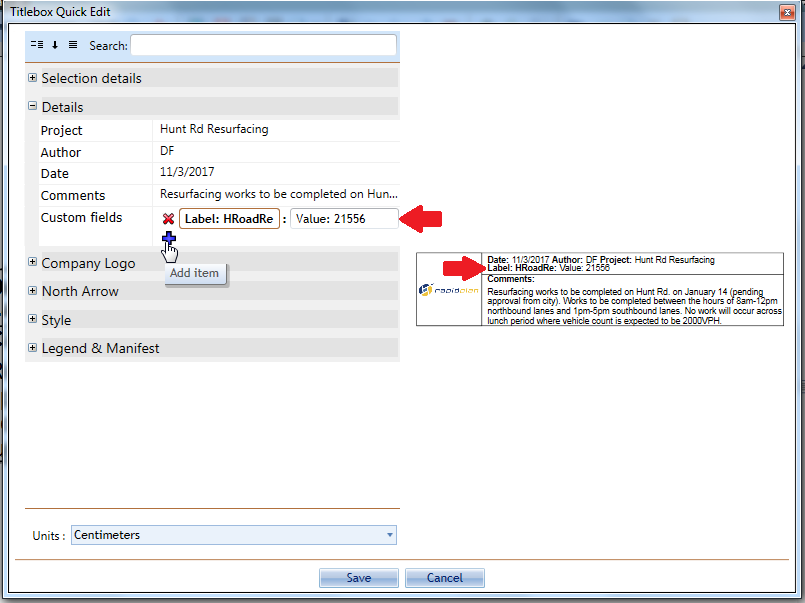
Because we don't know every field, you are likely to need, we have included a custom details field where you can give your plan a Label and a Value.
Naming the fields is simple, first click on the Add icon and enter the appropriate values for Label and Values as shown below, then click Save.
Note: Instead of entering Label and Value text, you can also delete the words Label and Value and enter your own custom information.
The North Marker
The north marker is a handy tool to give your audience an idea of the plan orientation. Its also very easy to use.
In the North Arrow tab of the Properties, simply click on the Show section to make it True, then adjust the direction of the arrow with the Angle bar as shown below.
![]()
The Logo Placeholder
An added hint of professionalism (and identification) is achieved by adding a logo to your plan.
You will need to have a high quality logo, preferably in JPG, BMP or PNG format.
To include the logo on a title box:
-
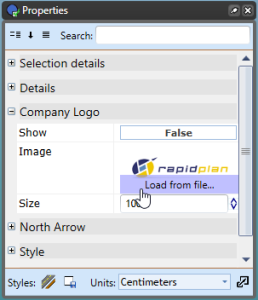
Click on the Company Logo tab in Properties.
-
Hover your cursor over the Image section until the option to Load File From becomes visible. Select this.
-
Browse for your image files on your computer, double click on your file once you've found it.
-
Do not forget to make the Show section True to make your logo visible in the Title Box.