The Work Area and Safety Zone Tools
There are many reasons why it's important to show exactly where the work is to be performed. Probably the most obvious is that road body scrutineers will likely want to know, and just as importantly, your work staff should also be able to see so that they can adjust their set up accordingly if site conditions are not what is depicted on the plan.
The other important feature of a work site is the indication of a safety or buffer zone between the end of the transitional or taper area and the commencement of the works. It's a good habit to include a safety zone on your plans because it will remind your site staff that they should leave sufficient room should a wayward vehicle run into the site.
Creating a Work Area and Safety Zone on a plan
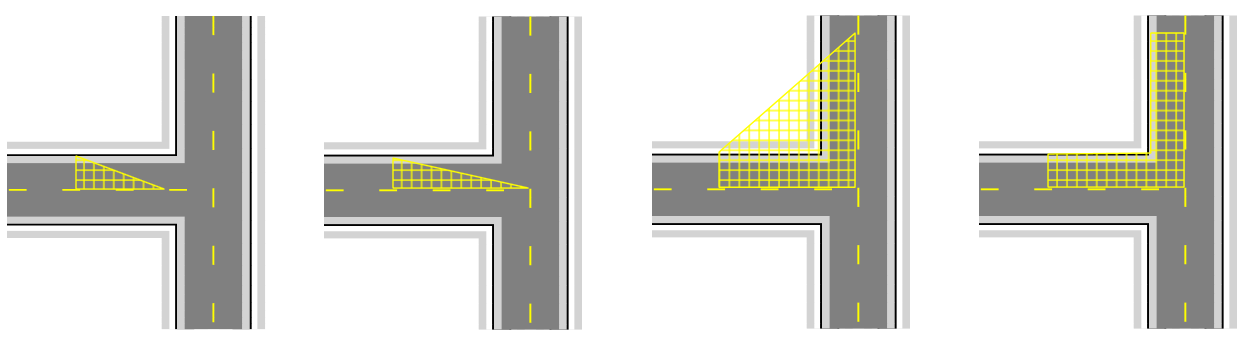
Both tools are simple polygons that are drawn on the plan. Aside from the way they look they both behave identically.
_and_Safety_Area_(Yellow)_on_a_Plan-ba4f0a330aa1146de027fa7316e915ac.png)
To place a Work Area or Safety Zone on a plan:
-
Select the appropriate tool from the Zones tab in the Tools Palette.
-
Click at the first corner point of your required area and continue clicking to set corner points (see below).
-
When the final point is placed, right click to stop drawing.
-
Right click to clear the cursor.